Part 1. Getting Started
Cash Organizer - is accounting software for individual, family or small group. What is the track of finances? Accounting - is the preservation of accurate information on available financial resources and information about the history of the use of these funds. For a great (and logical) supplement to available funds accounting, Cash Organizer provides us convenient features for planning future spending and savings.
Cash Organizer can be used as a Web application in your browser, a program for the operating systems Windows, Mac, Linux and Android application.
Key features of Inesoft Cash Organizer:
- Strong encryption of all information during storage and transmission via the Internet;
- Automatic synchronization of data between the web-based , android and desktop versions;
- Opportunity of granting access to other users to selected accounts;
- The use of advanced cloud technologies.
To get started with Cash Organizer, please follow the steps below:
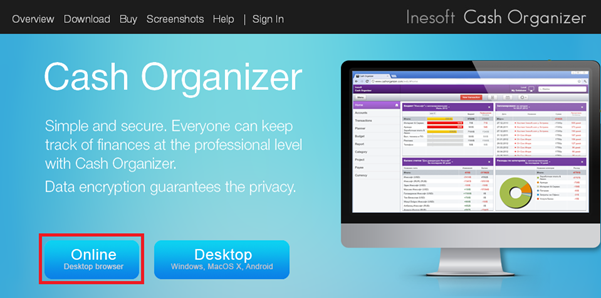
Step 1: Start. Visit the site www.cashorganizer.com/eng
And click Online button:
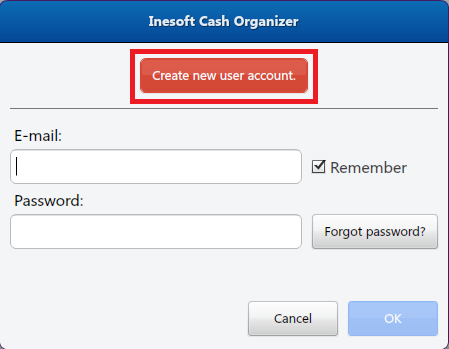
Step 2. Create an account.
Account provides access to a database on the server. Here you just need to press the red button highlighted by the arrow in the illustration:
Step 3. Choosing the type of database.

Online database hosted in the cloud. Cloud (or cloud service) - a technology for data placement on a server on the Internet. Such a placement will allow us to have access to their data from different computers and mobile devices. In this case, security is ensured thanks to strong encryption.
In addition, Cash Organizer allows us to work with the cloud database even without an internet connection. In this case, all changes are saved in the database on local computer or phone if we work on Android version, and the changes are synchronized next time when the connection is established.
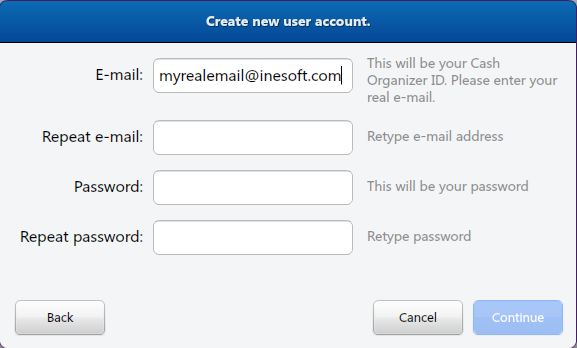
Step 4. Account information.
Huge plus of Cash Organizer - the minimum amount of information required from the user during registration. Actually this step is only required to enter your email address and password invented by you.
Filling in the form:
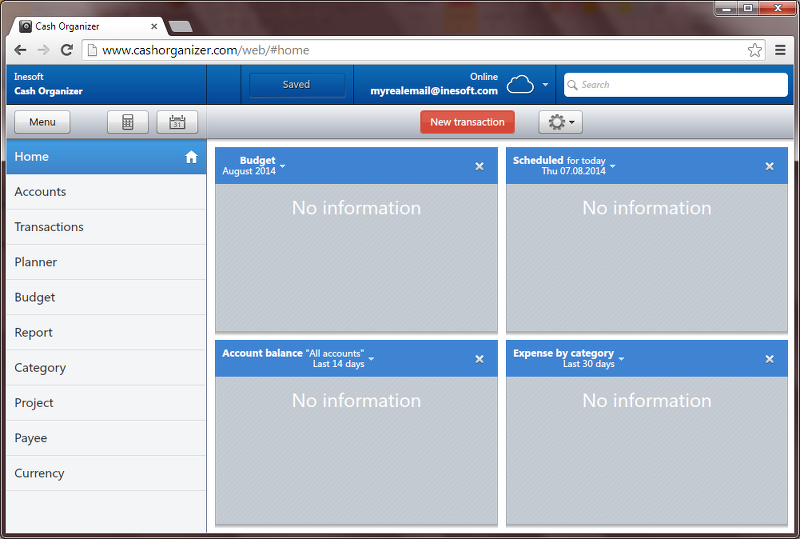
Step 5. Finalization.
Congratulations! The initial set up is complete, and if all has gone well, you should see the screen as follows: